
Bosses
Every Terranigma boss explained — attack patterns, safe windows and loadout advice, from the Underworld guardians to the Bloody Mary wall and the final Dark Gaia confrontation.
Introduction
The bosses category collects every major fight in Terranigma, from the Underworld gauntlets that teach the basics to the continent guardians, the civilization-era scientist Beruga, and the final confrontation with Dark Gaia. Each guide breaks down the boss's attack pattern, identifies the safe windows where you can strike, and recommends a loadout — the right weapon tier, armor and the rings worth spending Magirock on. The category pays special attention to Bloody Mary, the game's most infamous difficulty wall, with a dedicated strategy that has helped players for thirty years. Whether you are preparing in advance or stuck mid-fight, these guides are written to get you past the wall with minimal frustration.
Boss Difficulty Quick Reference
| Boss | Tier | Difficulty | Key Threat |
|---|---|---|---|
| Bloody Mary | S | Extreme | Spinning projectile barrage |
| Dark Gaia | S | Final | Two-phase planetary battle |
| Beruga | A | Hard | Fast combos + minions |
| Kingbird | A | Hard | Airborne rush attacks |
| E.A.S. | B | Moderate | Telegraphed beam volleys |
| Zue | B | Moderate | Rapid dive patterns |
| Five Towers Guardians | C | Easy | Basic pattern teaching |
Boss Roster
Bloody Mary
The most famous difficulty wall in 16-bit RPGs — a doll boss whose spinning attack ends countless first runs.
Dark Gaia
The final confrontation that ends Ark's journey — a two-phase planetary battle over the world he rebuilt.
Beruga
The civilization-era scientist whose immortality scheme drives the fourth act — and a dangerous final form.
Kingbird
The Wind Valley guardian — an enormous bird that punishes players who never learned to fight airborne.
E.A.S.
The supercomputer guardian deep inside the research tower — logic made lethal.
Zue
A fast aerial opponent encountered mid-game that demands guard timing and quick positioning.
Five Towers Guardians
The Underworld gauntlet that teaches you the combat basics before the world opens up.
Core Mechanics
Boss fights in Terranigma follow a readable rhythm: every attack is telegraphed, and every telegraph has a counter. Projectile volleys are guarded or dodged, melee rushes are jumped over or sidestepped, and every pattern ends in a recovery window you can punish. Because there is no MP, your offensive toolkit is your spear plus whatever rings you bought — which makes preparation a genuine mechanic: the right ring can turn a wall into a formality. Armor and weapon tiers set your damage and survivability floors, so the game quietly enforces shopping as part of boss strategy. The hardest fights, like Bloody Mary and Dark Gaia, combine multiple patterns in sequence, asking you to read the whole cycle rather than one move.
Advantages
The bosses category turns the game's hardest moments into structured lessons, which is exactly what a game with Terranigma's reputation needs. Every guide isolates three things — the attack pattern, the safe window and the loadout — so you never enter a fight blind, and the pattern descriptions are specific enough to act on rather than vague warnings. The tier rankings set honest expectations: you know Bloody Mary is coming, why she is feared, and that the community has beaten her with the same tools you have, which matters psychologically as much as tactically. The loadout advice integrates directly with the equipment and magic categories, so every shopping recommendation is backed by a full explanation of why that weapon, armor or ring earns its cost in that specific fight. For veterans, the no-damage notes offer a fun challenge path that extends the game's replay value, and the difficulty rankings give speedrunners and challenge players a clear progression of tests.
Challenges
Boss guides trade some discovery for reliability: reading them spoils the visual and mechanical surprise of each encounter, and the Bloody Mary wall is famous precisely because most players meet her unprepared. Some players also find that over-preparing removes the tension the game intentionally builds — the difference between a nervous first attempt and a guided victory lap is real. There is also the risk of following loadout advice too literally: ring and weapon recommendations assume you have spent your gems and Magirock on the right things earlier, and if you are under-budgeted, the guide's suggested setup may not be affordable. Finally, the 2027 re-release may adjust boss behavior, stats or patterns, so any guide detail written for the 1995 original should be treated as a baseline until the new version is confirmed to match.
Frequently Asked Questions
Who is the hardest boss in Terranigma?+
What level should I be for Bloody Mary?+
Are there any optional or secret bosses?+
How do I beat Dark Gaia's second phase?+
Quick Tips
Before every boss, check the local shop for a weapon upgrade, because the chapter weapon changes the fight more than ten levels would — Terranigma's damage formula is heavily weighted toward your weapon tier. If a fight feels impossible, the fix is almost always shopping, not grinding, and the walkthrough lists the exact shop for each act.
Stock at least two healing items per boss attempt, because dying to a single mistake is normal in this game and heals are cheap insurance against a full death-run. The walk back to the boss room costs more time than the items ever will, and a stocked inventory turns a near-loss into a win more often than any technique tip.
Guard the projectiles, never the melee: learning which attacks are blockable halves the difficulty of every ranged boss in the game. Bloody Mary's volleys, E.A.S.'s beams and Dark Gaia's spreads are all guardable, while their melee attacks must be dodged — mixing those two reactions correctly is the core of every hard fight.
Use the jump attack to punish recovery windows, because it deals full damage and repositions you out of the next telegraph in one motion. Every boss in the game has a recovery pause after its attack cycle, and jump-attacking through that pause is both the safest and the most damaging response available to you.
If a boss kills you three times, stop and shop instead of retrying, because the game is balanced around the current chapter's gear tier and the solution is usually a purchase away. Buy the weapon upgrade, add a healing ring, and you will often find the same fight becomes routine — the wall was never your reflexes, it was your inventory.
Featured

Terranigma Boss Guide: Order, Strategies, and Bloody Mary
Explore the Terranigma boss guide with the full boss order, every encounter, and a detailed Bloody Mary strategy to conquer each fight in the game.
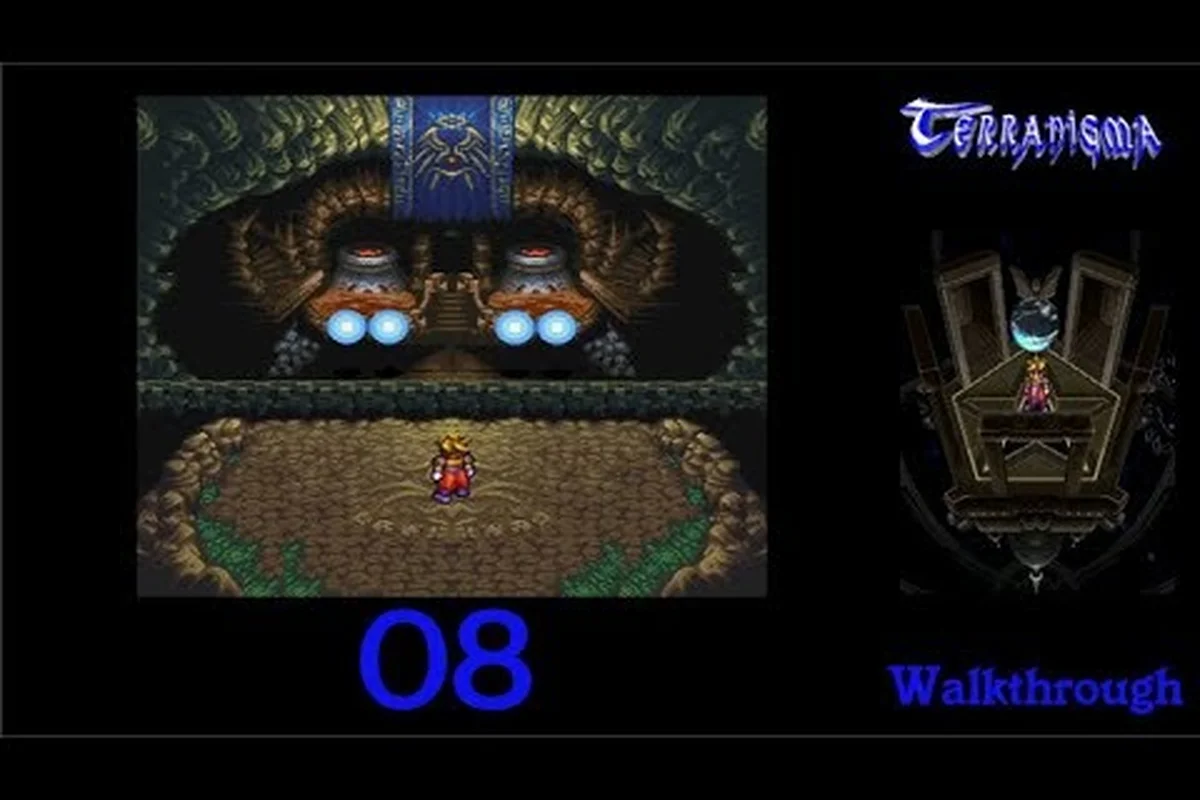
Terranigma Eurasia Boss Guide: Zue and Wind Valley
Master every Terranigma Eurasia boss guide fight, from Wind Valley to Zue, with attack timings, elemental weaknesses, and level thresholds for each victory.

Terranigma Hardest Bosses Ranked: Top 10 Fights and Picks
Discover the Terranigma hardest bosses ranked list, comparing damage output, pattern complexity, and required levels, plus weapon picks that tame each fight.
All Articles
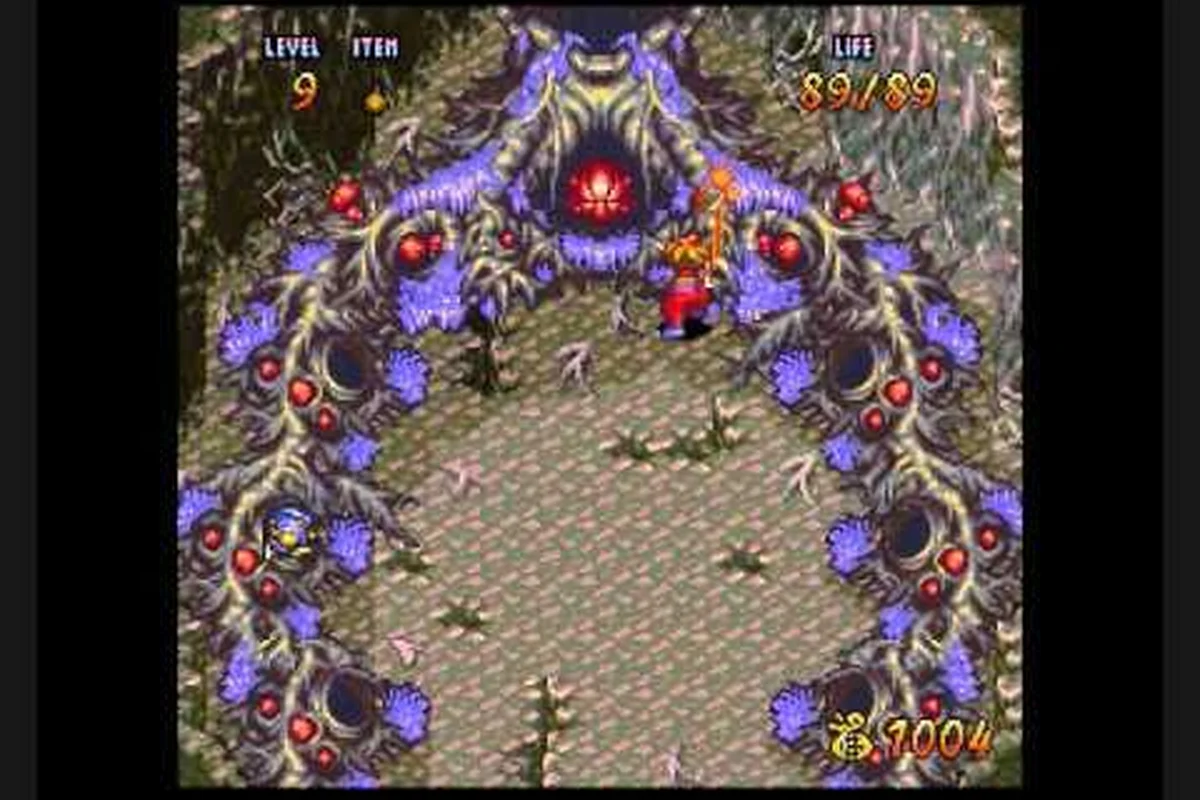
Terranigma How to Beat Beruga: First Boss Weaknesses
Master the Terranigma how to beat Beruga fight with phase breakdowns, safe positioning and the exact gear that turns this underworld guardian into an easy win.
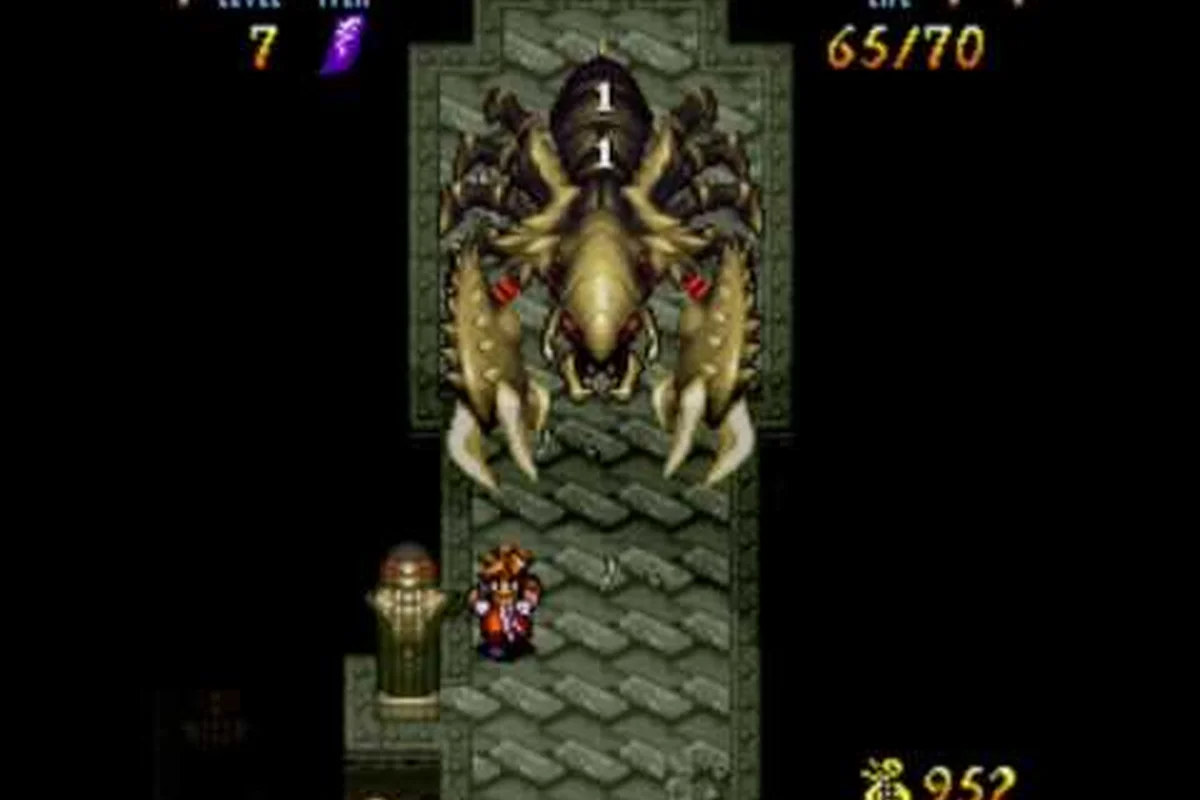
Terranigma Birdman Boss Guide: Kingbird Tower Strategy
Use the Terranigma Birdman boss guide to defeat Kingbird: learn its dive patterns, exploit stun windows, and pick the right spear for the tower showdown.

Terranigma Dark Gaia Guide: Final Boss and Beruga Tactics
Beat the Terranigma Dark Gaia guide with step-by-step tactics for the final boss, plus Light Gaia and Beruga fight strategies to secure victory.

Terranigma Final Boss Strategy: True Ending Secrets
Learn the Terranigma final boss strategy for every phase, including the true encounter, optional fights, and a no-damage approach with precise dodging.