
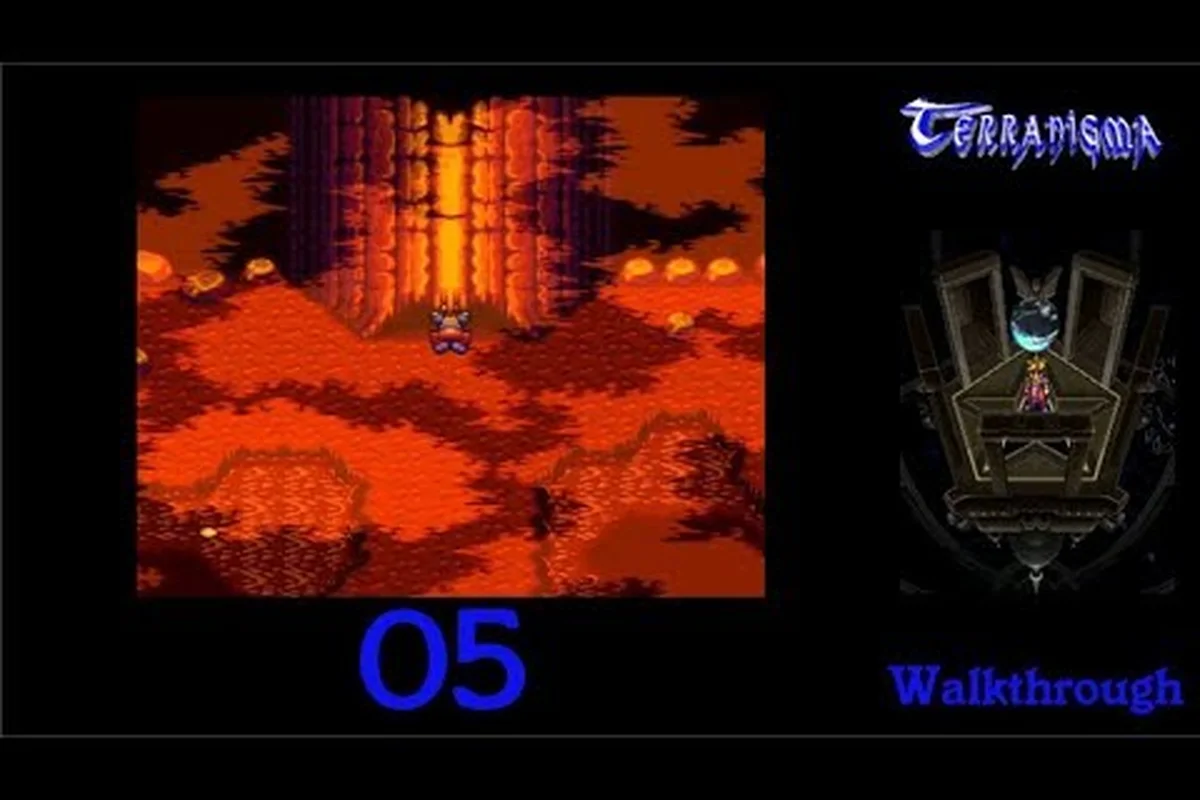
After Dark Morph falls in the previous chapter, Ark wakes up in the quiet mountain village of Lhasa, and the real work of resurrection begins. This Terranigma lhasa walkthrough covers the critical sequence from Lhasa through the haunted Louran ruins and into Mermaid Tower, where the Big Fish boss guards the Engagement Ring. Missing a single item here can stall your entire playthrough, so follow the route carefully and grab every key piece before moving on.
Lhasa Village Setup and the Louran Gate
Your arrival in Lhasa marks the start of Chapter 3, Resurrection of the Genius, and the village itself serves as a compact hub for the next major dungeon. Lord Kumari hands over the BonePin as soon as Ark wakes, while Master Meihou asks you to find his granddaughter Meilin, who disappeared inside the Louran ruins. Before you leave, check the local shop, because it stocks the Monk Robe and FireRings, both of which will matter once you reach the lava-heavy sections later in the chapter. The shop prices are modest compared to what you will earn from enemy drops in Louran, so buy both if you have the gems.
The village layout is deliberately small, with only a handful of houses and NPCs to talk to. One resident mentions strange lights coming from the ruins at night, while another warns that the dead do not rest peacefully in Louran. These dialogue lines are optional, but they reinforce the tone of the next area and hint at the enemy types you will face. According to community walkthrough data, there is no hidden item in Lhasa itself that becomes permanently missable, but the shop stock rotates after certain story beats, so purchase the Monk Robe before entering Louran.
| Location | Key NPC | Item or Task |
|---|---|---|
| Lhasa Village | Lord Kumari | Receive BonePin |
| Lhasa Village | Master Meihou | Accept Meilin rescue quest |
| Lhasa Shop | Merchant | Buy Monk Robe and FireRings |
| Louran Entrance | None | Trigger phantom ruin sequence |
Once you finish the village prep, head north toward the ruins. The path is linear, but a few overworld enemies spawn in the mountain pass, and they are weak enough to farm for a couple of levels before the dungeon proper. Dark Morph's defeat means Ark is temporarily without his strongest form, so spending five minutes leveling here smooths out the Louran section considerably.
Terranigma Louran Walkthrough: Ghosts, Ghouls, and the Holy Seal
Louran is not a traditional dungeon with a single linear corridor; instead, it is a phantom ruin filled with Ghouls and Ghosts that ignore physical positioning and float through walls. The first thing to understand is that undead enemies here resist standard sword hits unless you exploit their elemental weakness. LightRod, which you find inside the ruins, is explicitly strong versus undead and should be equipped immediately, because it turns most encounters from tedious chip damage into two-hit kills.
The layout splits into three main wings, each hiding a critical item or story trigger. In the eastern wing, you will find Meilin hiding behind a bookcase, and interacting with her advances the rescue quest. The Red Scarf sits behind that same bookcase, so search the area thoroughly before leaving, because returning later requires backtracking through respawned enemies. The central chamber holds the Holy Seal, which stops the Maduu armors from warping Ark around the map, a mechanic that can easily disorient first-time players.
| Louran Item | Location | Purpose |
|---|---|---|
| LightRod | Western chamber | Strong versus undead |
| Red Scarf | Behind Meilin's bookcase | Defense accessory |
| Holy Seal | Central chamber | Stops Maduu warp effect |
| 500 gems | Temjin's grave | Requires correct earlier dialogue choice |
The grave of Temjin is one of the easiest sources of 500 gems in the entire game, but only if you picked the correct dialogue option during an earlier chapter interaction. If you missed that flag, the grave yields nothing, and there is no way to retry without loading an older save. This makes Louran a surprisingly high-stakes area for completionists, especially because the gem payout funds multiple shop purchases before Mermaid Tower. Players report that the undead respawn quickly, so routing your path to grab all four key items in one sweep minimizes wasted combat.
Navigating the Phantom Ruin Layout
The ruins are split across multiple vertical layers connected by broken staircases and collapsed floors. Ghost enemies phase through the geometry, so you cannot use walls or corners to funnel them, which forces you to manage spacing in open rooms. Ghouls are slower but hit harder, and they often spawn in pairs near treasure chests. The most efficient route starts with the western wing for the LightRod, swings through the central chamber for the Holy Seal, then finishes in the eastern wing for Meilin and the Red Scarf.
One common mistake is leaving Louran the moment Meilin is rescued, because the story prompt suggests the area is complete. However, the Holy Seal is optional but extremely valuable, and skipping it means dealing with the Maduu warp effect throughout the remainder of the ruin. According to community testing, the warp effect can push you back into rooms you already cleared, which adds several minutes of unnecessary combat to an already lengthy dungeon.
Louran Enemy Strategy and Resource Management
Undead enemies in Louran do not drop healing items at a reliable rate, so enter with a stock of Herbs or Potions from the Lhasa shop. The LightRod changes the combat math dramatically, because each swing connects for roughly double damage against Ghosts and Ghouls. If you skipped the Monk Robe, the extra defense from the Red Scarf partially compensates, but the two items stack, so wearing both makes the Big Fish fight later noticeably easier.
Magic users should note that FireRings are not useful in Louran, because the undead resist fire and the environment has no fire-based hazards. Save those rings for a later dungeon where lava and flame traps appear. This kind of small optimization separates a smooth Chapter 3 run from one that constantly stops to heal or retreat, and the Louran section is the first place where Terranigma punishes careless inventory management.
Terranigma Mermaid Tower Walkthrough: Reaching the Big Fish Boss
After completing Louran and advancing the story, you eventually reach Liotto, the southern port town, where a ship captain offers passage to Mermaid Tower. The captain agrees to sail only after Ark promises to fight the monsters infesting the waters, which sets up the tower as a self-contained combat gauntlet. This Terranigma mermaid tower walkthrough focuses on the descent from the upper floors to the underwater throne room, because the vertical layout hides several optional chests and one mandatory story item.
The tower itself is a spiral staircase that winds downward through increasingly flooded chambers. Enemy density increases as you descend, with aquatic monsters replacing the standard overworld mobs. The most important chest on the way down contains the SeaSpear, a weapon with bonus damage against the tower's fish enemies, and it sits behind a false wall on the third floor. Missing the SeaSpear makes the Big Fish boss fight longer but not impossible, though the weapon's reach advantage is significant.
| Mermaid Tower Floor | Key Item or Event | Enemy Type |
|---|---|---|
| Upper floor | None | Basic aquatic mobs |
| Third floor | SeaSpear chest | Fish swarms |
| Middle descent | None | Mixed spawns |
| Throne room | Big Fish boss | Boss encounter |
| Post-boss chamber | Engagement Ring, WaterPin | Cutscene |
The descent is linear enough that you cannot get lost, but the respawn rate on the middle floors is aggressive, so do not backtrack for a missed chest unless you are willing to fight through the same packs again. Community reports suggest that the SeaSpear is the only genuinely valuable pickup before the boss, because the other chests contain consumables that are cheaper to buy in Liotto than to earn through combat.
Big Fish Boss Guide: Reading the Purple and Green Pattern
The Big Fish boss fight is a test of patience rather than raw damage output. The boss swims in a fixed circuit around the arena, and you can only safely strike when the purple fish swims close to Ark's position. The green fish that orbit the boss are a secondary threat, because they deal contact damage and can interrupt your attack animation. The core loop is simple: dodge the green fish, wait for the purple fish to approach, land one or two hits, then retreat before the orbit cycle resets.
| Boss Action | Player Response | Notes |
|---|---|---|
| Purple fish approaches | Strike immediately | Only safe damage window |
| Green fish orbits | Dodge or reposition | Contact damage |
| Boss speeds up at low HP | Shorten attack window | Last phase aggression spike |
| Purple fish retreats | Hold position | Do not chase |
This terranigma big fish boss guide strategy works because the boss has no projectile attacks, meaning all damage comes from physical contact. The fight feels easier than it looks once you recognize the rhythm, but greedy players who chase the purple fish during its retreat will eat multiple green fish hits. The SeaSpear extends your effective range enough that you can hit the purple fish one beat earlier than with a standard sword, which is why the optional chest matters for less experienced players.
Engagement Ring Reward and the WaterPin Departure
Defeating the Big Fish triggers a cutscene where a crowned mermaid grants Ark the Engagement Ring, an item with story significance that carries into later chapters. A nearby chest holds the SeaSpear if you somehow missed it earlier, but by this point you should already have it equipped. Before you leave the throne room, the departing mermaids hand over the WaterPin, another key item that gates progression in the next region.
The captain, true to his word, gifts his boat after the tower is cleared, which opens up ocean travel and connects this section to the broader Chapter 3 map. If you skipped the Louran Holy Seal earlier, this is a good moment to consider whether backtracking is worth the time, because the WaterPin and boat unlock fast travel options that make the return trip less painful. Players who grabbed every item in Louran can simply set sail and move forward without hesitation.
Item Checklist and Preparation Strategy for the Full Sequence
This entire stretch from Lhasa to Mermaid Tower rewards methodical play, because four separate areas feed into each other with item dependencies. The BonePin from Lord Kumari starts the chain, the LightRod and Holy Seal from Louran make the undead manageable, and the SeaSpear from Mermaid Tower trivializes the Big Fish encounter. Skipping any one of these creates friction that compounds as the chapter progresses.
| Sequence Stage | Mandatory Item | Optional Item | Consequence of Skipping Optional |
|---|---|---|---|
| Lhasa Village | BonePin | Monk Robe | Lower defense in Louran |
| Louran Ruins | LightRod | Holy Seal | Maduu warp persists |
| Louran Ruins | Rescue Meilin | Red Scarf | Missed defense boost |
| Mermaid Tower | SeaSpear | None | Longer boss fight |
| Mermaid Tower | Engagement Ring | WaterPin | Story progression blocked |
The 500 gems from Temjin's grave are technically optional but should be treated as mandatory for any player who unlocked the dialogue flag, because the payout funds every shop purchase through the mid-game. If your gem count is low, consider selling unused equipment from earlier chapters before entering the tower, since the Liotto shops offer competitive prices and the Big Fish fight does not require consumables if you play patiently.
Managing Resources Across Four Connected Areas
The biggest challenge in this sequence is that healing items are scarce across all four zones, and the undead in Louran do not drop Herbs consistently. Buy out the Lhasa shop's healing stock before entering the ruins, then ration your potions so you have a few left for the Mermaid Tower descent. The Monk Robe pays for itself by reducing incoming damage, which means you burn fewer healing items per encounter.
If you find yourself low on resources before the Big Fish, the Liotto inn offers a cheap full heal, and the tower's upper floors are close enough to town that you can retreat without losing significant progress. The tradeoff is time, because the tower's enemies respawn, but a quick retreat is always better than entering the boss fight at half health. For a broader look at how this sequence fits into the larger region, the Terranigma Freedom walkthrough covers the transition from Liotto through the Great Lake, which immediately follows the Mermaid Tower events.
Advanced Route Optimization and Repeat Playthrough Notes
Experienced players can shave significant time from this sequence by skipping the Louran cleanup and beelining for Meilin, then returning later with the WaterPin and boat for fast travel. The risk is that the Maduu warp effect remains active during the initial pass, which makes navigation slower and can cause you to miss the Holy Seal chamber entirely. Speedrunners tend to route Louran as a single sweep, because the item dependencies mean you need to touch most rooms anyway.
| Strategy | Time Saved | Risk Level | Best For |
|---|---|---|---|
| Single-sweep Louran | Baseline | Low | First-time players |
| Skip optional Louran items | 3-5 minutes | Medium | Confident players |
| Return later with boat | 2-3 minutes | High | Speedrunners |
| Farm Lhasa overworld first | Negative | None | Underleveled players |
The Big Fish fight itself does not change meaningfully across playthroughs, because the boss has no RNG elements beyond the green fish orbit timing. Once you internalize the purple fish approach window, the fight becomes a formality regardless of your equipment. The real skill expression in this sequence is inventory routing, not combat execution, and that is why the Louran item checklist matters more than your sword technique. Players who want to understand how the Chapter 3 story beats connect to the larger resurrection plot can cross-reference the Terranigma Beruga Tower walkthrough, which picks up after the ocean travel section opens up. The chapter's placement is also documented in the Terranigma Wikipedia entry, which records how Quintet structured Resurrection of the Genius around humanity's growth and Elle's Lightside twin.
The boat gift from the captain also opens several optional island detours that are not part of the critical path, but they contain useful equipment for the mid-game. If you are following a completionist route, check every dock and island marker before advancing the main story, because a few of these locations become inaccessible once you trigger the next major story flag. The Louran and Mermaid Tower sequence is dense enough that a second pass with the boat active reveals shortcuts you missed the first time.
Frequently Asked Questions
What is the fastest way through the Terranigma lhasa walkthrough?
From Lhasa, buy the Monk Robe, enter Louran, grab the LightRod in the western wing, then the Holy Seal in the central chamber, rescue Meilin and collect the Red Scarf in the eastern wing, and exit. Head to Liotto, sail to Mermaid Tower, grab the SeaSpear, and defeat the Big Fish.
Where do I find the SeaSpear in Mermaid Tower?
The SeaSpear sits in a chest behind a false wall on the third floor during your descent. Look for a cracked wall texture that stands out from the surrounding stone, then walk through it. The weapon has extended reach and bonus damage against the tower's fish enemies.
How do I beat the Big Fish boss without taking damage?
Wait for the purple fish to swim close, land one or two hits, then retreat before the green fish orbit resets. Do not chase the purple fish when it moves away, because the green fish deal contact damage and will punish greedy positioning. The fight has no projectile attacks.
What happens if I miss the Holy Seal in Louran?
The Maduu armors keep their warp effect for the rest of the dungeon, which means they can teleport Ark into rooms you already cleared. You can return later after getting the boat from the Mermaid Tower captain, but the backtracking adds time and forces you to re-fight respawned undead.
Is the Engagement Ring required to progress the story?
Yes, the crowned mermaid grants the Engagement Ring only after the Big Fish is defeated, and the item gates story progression in later chapters. The departing mermaids also hand over the WaterPin in the same cutscene, and both items are mandatory for the ocean travel section.